
Nearly all computer systems from the simplest of smart TVs or a smartwatch to a fully featured PC make heavy use of graphics or images to display information. We take for granted the fact that a computer can create photo realistic graphics, yet it wasn’t that long ago that computers simply didn’t have the processing power to create anything more than text, let alone high quality graphics.
Getting a computer to display some form of graphics isn’t too hard, but even with modern systems images and graphics are sufficiently resource intensive that we are still balancing a compromise between the quality, amount of data and processing time required to produce the end result you see on screen.
To recap, encoding is the process of turning any real world information (images, sounds, text and so on) into numbers. These numbers can then be stored and processed as binary inside a computer. Image encoding, therefore is any method of storing images as binary data.
But as ever, it’s a bit more complex than that. In this section we will look at how images are handled and displayed by computers, how image data is stored in binary form and also how displays take this binary data and convert it into colour information that we see on screen as the final image.
In this section (click to jump)
- What is an image anyway?
- Creating images on a screen – Pixels
- Resolution
- Colour Depth – The final puzzle piece
- The effect of resolution and colour depth on file size
- Meta data
- Image Encoding – Final Summary
What is an image anyway?
We see the world around us because of light. Light is a wave (and a particle simultaneously but lets not get into crazy physics) and the light we see is from the “visible spectrum” – in other words its… visible…
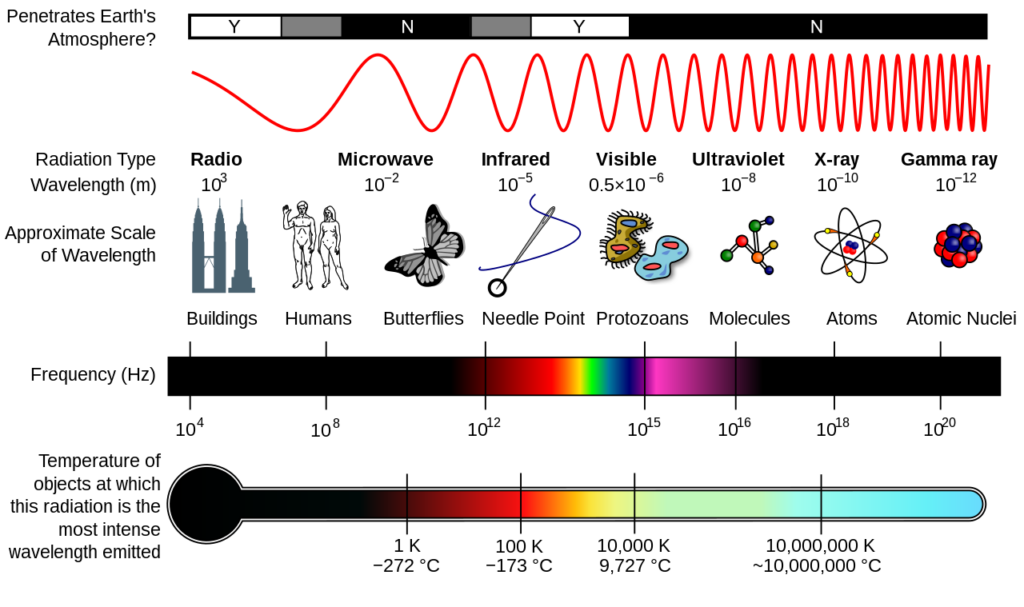
This means that all images are made up of light and the wavelength of that light dictates its colour.
All a digital camera does (whether it’s your phone, a DSLR or whatever) is capture this light using a sensor. The sensor captures how “bright” and what “colour” each part of the image is, turning it into a raw binary stream of data which is then sent off to a processor which does very beardy things to turn it into an image on your screen.
Now we understand that, how do we display images on a screen? The answer is using tiny squares of colour.
Creating images on a screen – Pixels

The Google Chrome logo
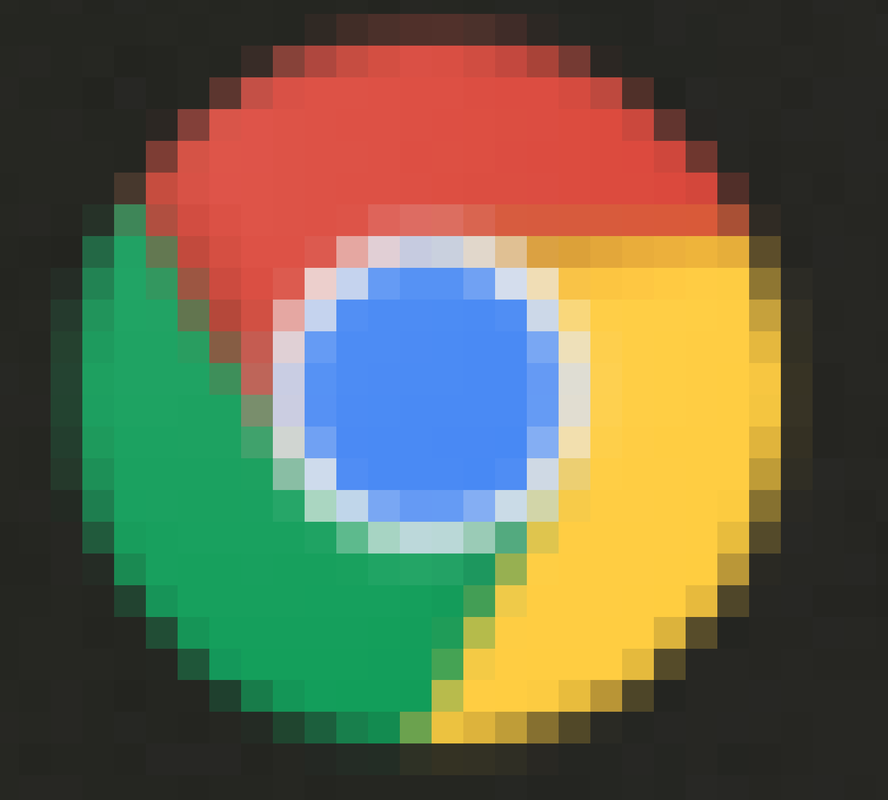
If you look at the two images above they are both of exactly the same thing, only one is extremely zoomed in so we can see how it is constructed by a computer and displayed on screen.
The enlarged image tells us pretty much everything we need to know about how an image is constructed:
- All computer images are made up of pixels
- A pixel is simply a square
- Each pixel has one single colour assigned to it
As you can see, even pictures of things that look round/circular are actually made up of lots of little squares called “picture elements” which is nearly always shortened to “pixels.” The reason we don’t always realise that images are made up of square elements is because modern displays contain millions of pixels all tightly packed together, meaning the pixels themselves are really very, very small. To our eyes these squares are so small they blend together to appear as smooth curves or lines.
As an aside, you’ll notice some clever tricks that are used to make these lines look even smoother – notice that lots of different shades of colours are used on edges to help blend, fade and soften the image to make it look better.
Resolution
We now know that computer images are made up of tiny squares called pixels. However, there is complexity to this situation. Each image may contain a different amount of pixels and each display may be capable of displaying a different amount of pixels!
The number of pixels in an image, or that a display consists of, has a huge effect on how good a picture will look, the processing power we need to generate and display that image and how much memory and storage are required.
The word we use to describe the dimensions or quantity of pixels in an image or display is “Resolution.”
Resolution means the number of pixels in a given space. Resolution can be easily calculated by multiplying how many pixels there are horizontally by how many vertically.
Some common examples are:
- 1024 x 768 – old computer monitors – 786,432 pixels
- 1280 x 720 – 720p HD TV – 921,600 pixels
- 1920 x 1080 – HD TV – 2,073,600 pixels
- 2436 x 1125 – iPhone X – 2,740,500 pixels
- 3840 × 2160 – “4k” UHD TV – 8,294,400 pixels
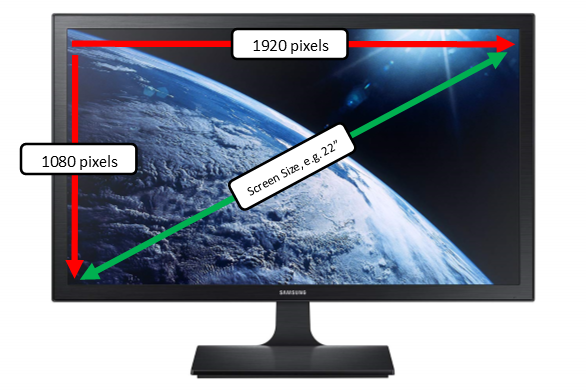
Knowing the number of pixels in an image is only half the story, though, as it really matters what size display we pack those pixels into. Remember the definition of resolution was “the number of pixels in a given space.” So we actually need to take into account the physical size of the display.
Think about the example of an HD TV. We have the following facts:
- The resolution will always be 1920×1080, regardless of screen size
- HD TV’s range in size from small 20″ displays, right up to huge 50″ displays
Therefore, if the number of pixels is the same on a 20″ display as on a 50″ display, something has to be different between those two displays, right? The answer is yes, if the resolution (number of pixels) stays the same, then as the size of the display gets bigger – so do the pixels! Physically bigger display = bigger pixels (if the resolution stays the same!)
This is why:
- The displays on modern smartphones look amazing – they are cramming more pixels than on a huge HD TV into a tiny 5-6″ display. Those pixels are very, very small and therefore our eyes can’t make out they’re square in shape so everything looks sharp and clear.
- If you buy a huge TV, say 40-50″ that’s only HD it won’t actually look very good at all. If you have a large TV at home, get up close and you can easily see the pixels.
- The “4K” standard had come out in order to deal with this issue – if you buy a whacking big TV you’re going to want it to look good. The only answer is to pack more pixels into the display, the pixels are then smaller so you can’t see them as easily and everything looks better.
To summarise:
- Resolution = the number of pixels in a given space – Width x Height
- The resolution of an image matters in terms of display size – small displays with more pixels look better than large displays with fewer pixels
- However, the higher the resolution, the more pixels we have and therefore we need more storage space, faster processors to deal with the image data and more memory to process these images in. This explains why your xbox/PS4 needs about 8GB of video memory to prepare HD images at 2 million pixels each, 60 times a second…
Colour Depth – The final puzzle piece
So far we have determined that:
- Images stored or displayed on a computer are made of pixels
- Each pixel is a square of one colour
- The number of pixels in an image is called the “resolution”
- The higher the resolution, the more detailed or “better” the image looks, but the bigger the file size
To understand how an image is actually encoded (turned into binary data) we need to focus on those colours and how it is a computer actually stores colour data. Colour is not a simple concept in computing and represents one of the biggest trade offs in terms of file size and the quality/realism of an image.
To encode an image is actually quite a simple process:
- Take each pixel in turn
- Decide on a unique number which represents the colour of the pixel
- Store these numbers for each pixel as binary
So all we need to do is literally come up with some kind of table for which colour is which number, e.g.
0 = white, 1 = black, 2 = red, 3 = green, 4 = blue, 5 = purple and so on.
There’s only one problem with this. There are a lot of colours.
Millions of colours.
In fact, your eyes can distinguish approximately 10 million different colours.
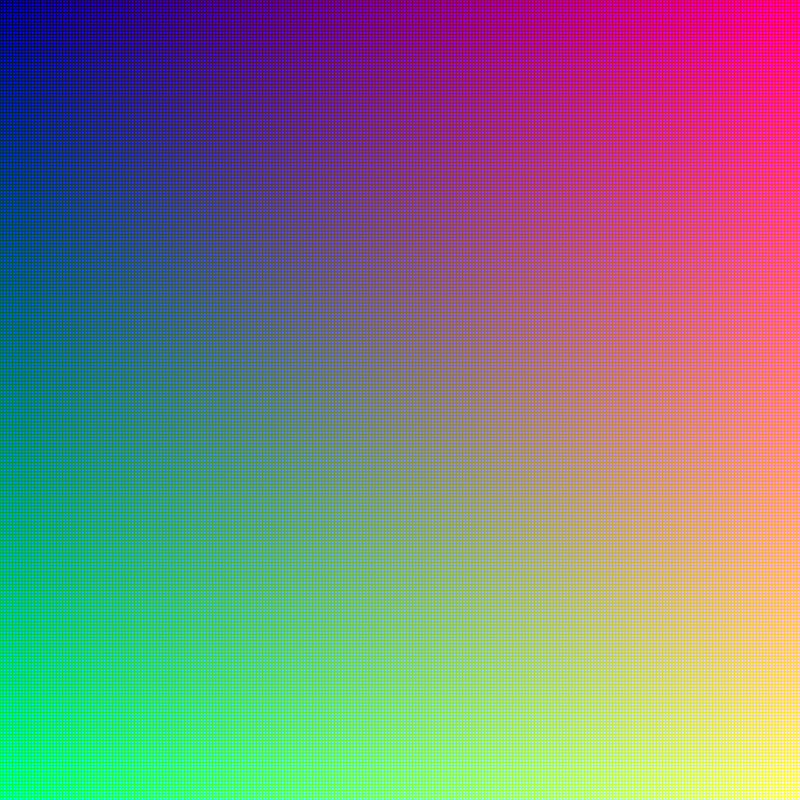
As computers work in binary, we can allocate a set number of binary bits to each pixel to store the colour of that particular square. Because there are millions of colours and each image may contain millions of pixels, there is a trade off to be made. The more colours you want to represent, the more data the file will contain.
The number of binary bits we decide to allocate per pixel in an image, and therefore the number of colours any pixel could be, is known as the colour depth of the image:
Colour depth – the number of possible colours any single pixel may be.
We decide colour depth based on how many bits we want to assign to each pixel. Here are some common examples:
- 1 bit per pixel = two colours (black and white)
- 4 bits per pixel = 16 colours
- 8 bits per pixel = 256 colours
At these colour depths, each number relates directly to a colour and is known as “indexed” colour, meaning each number has been assigned to a specific colour and we could look the number up in a table to find out what colour it is. This is fine, to a point. It quickly becomes cumbersome when moving towards thousands of colours, let alone millions.
To represent millions of colours, we need to allocate more bits per pixel and also make colours in a new way. Instead of setting each colour in a table, we mix amounts of Red, Green and Blue to create the colours required. This is called the “RGB colour space” and it is possible to create any colour by mixing various amounts of these three colours together.
RGB is extremely useful and is not just used for storing the colour of each pixel in an image. It is also used by TV’s, monitors and other types of screen to actually display images by mixing tiny amounts of red, green and blue light for each pixel.
There are two common colour depths for RGB colour as shown below:
- 16 bits per pixel = 4 bits for Red, 4 bits for Green, 4 bits for Blue = 4096 possible colours. The remaining 4 bits are for transparency.
- 24 bits per pixel = “True colour” = 8 bits for red, 8 bits for green and 8 bits for blue. This gives us 256 x 256 x 256 possible combinations and therefore 16 million different possible colours.
The effect of resolution and colour depth on file size
Images create absolutely huge amounts of binary data and can take up large amounts of storage space on a computer system. The relationship between colour depth and file size is quite simple:
- More bits per pixel = more colours available = more realistic looking images
However…
- More bits per pixel = more data = higher file sizes
So, colour depth is a trade off between how realistic you want your image to look and how much space you have available to store it.
To see how colour depth affects file size, look at the two examples below for an image at 1920 x 1080 resolution:
- 1920 x 1080 = 2,073,600 pixels
- 8 bit (256) colour = 2,073,600 x 8 = 16,588,800 bits of information
- (16,588,800 / 8) / 1024 = 2,025 Kb file size uncompressed with 8 bits per pixel colour depth
- 24 bit colour = 2,073,600 x 24 = 49,766,400 bits of information
- ((49,766,400 / 8) / 1024) = 6,075 Kb file size uncompressed with 24 bit colour
We can clearly see from these two examples that the jump from 8 bit colour to 24 bit colour results in roughly a 4Mb difference in file size, which is significant if you are creating any form of video or streaming data to a device.
Finally, to visually see the effect on image quality of changing the colour depth in an image, I recommend having a look at the Wikipedia entry for colour depth, failing that, have a look at the pictures below which I stole from there that perfectly illustrate the difference colour depth makes to the quality of an image:





Meta data
The rather unhelpful definition of meta data is:
Meta data = data about data.
Well, I’m glad I could clear that up for you.
Meta data is “information about something.” In the context of images it is “information about the image.” It is nothing more than extra data we include with a file to help describe it, record useful information about the picture, or even a description of the image.
Examples of image meta data are:
- Camera information, such as manufacturer and model
- Shot information, such as shutter speed, aperture, ISO
- Location data
- Resolution
- Image encoding method used
There are no rules about what can and cannot be included in meta data, but in an effort to standardise things there is an image metadata standard called EXIF. EXIF stands for “Exchangeable Image File Format” and is the agreed way of storing every possible type of information about an image that you could ever possibly need.
In the exam, you are unlikely to see a question about meta data any more difficult than “give an example of metadata that may be stored with an image.”
Image Encoding – Final Summary
We’ve been on a bit of a journey. Here are the main facts to take away and understand:
- Images are made of pixels
- Each pixel has a single colour
- The colour of each pixel is linked to the colour depth of the image
- Colour depth is how many binary bits we use to encode each pixel
- The higher the colour depth, the more colours we can use, the better the image looks
- The higher the colour depth, the larger the file size
- The number of pixels in a given space/image is it’s resolution
- The higher the resolution, the better the image will look, or the better it will scale on large displays
- The higher the resolution… the bigger the file size!
